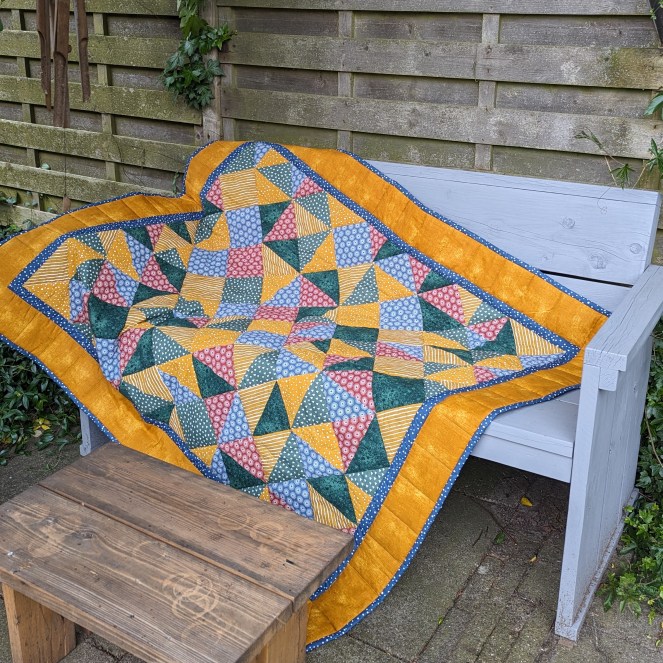
About 2 years ago I gifted one of my sisters a coupon for a quilt, made to her own preferences. The process of actually getting to sewing it was a slow one (picking colours, buying fabric, designing the pattern…) but last spring I got around putting all the pieces together, and the quilt above is the result!
My sister Margo wanted a quilt that was colorful, but not covered in busy patterns, so I bought fabrics that had either a print in white, or a monochrome batik effect. They are all from the QjuTie Collection, a brand that makes a lot of cute poplins aimed at children. The centre part contains 6 different fabrics, supplemented by a blue fabric for the narrow borders and a yellow fabric for the wide border and the back. Margo showed me some images of quilts with triangles and squares, and a few sketches later we ended up with a design containing squares and half-and quarter square triangles. Because of the random distribution of the pieces it reminded me a lot of a kaleidoscope, so that would be the working title of this piece.
Before cutting, I counted how many pieces of each colour I required, divided in squares, and half- and quarter square triangles. Because the blocks were supposed to be 12×12 cm finished size, and using a seam allowance of 7 mm, I cut all my pieces as follows:
- for each full square: 1 square of 13.5×13.5 cm
- for each TWO half-square triangles: 1 square of 14.5×14.5 cm
- for each FOUR quarter-square triangles: 1 square of 15.5×15.5 cm
I started by making up the half-square triangles in pairs, as described in this YouTube video. I am slightly lazy when it comes to this kind of patchwork, and any shortcut to make the job go faster (and honestly, more precise) is highly appreciated. For the quarter-square pieces I couldn’t use this method, but I could start out with two half-square triangles cut from the largest squares, sew them together and cut the resulting block in two over the other diagonal. Using this method, I could make about 80-90% of my blocks containing triangles very fast. For the remaining blocks I had to pick a few pieces apart and sew them together again, but nothing to get frustrated about.
After I had all my square blocks (and the triangles going around the edge) I started chain piecing everything together. This again went very fast, but I really had to take care not to mix up blocks, so I referenced my drawing continuously. The creation of the whole patckwork piece, from creating all the blocks to putting it together into a finished center, took me about 8 hours.
Because the center attracts quite a lot of attention, I decided to surround it by two borders to create a nice frame, almost as if it were a painting. For me, this is the part where the whole quilt top comes together and the hard work put into the center part pays off.
I backed the quilt with the same yellow fabric used in the wide border, and finished it with the same blue fabric as the narrow border around the center. I used a polyester batting I ordered some time ago, the same one I used for the ladybug quilt I made last year. I quilted it in a simple pattern following the diagonals of the center and the horizontal and vertical lines of the border.
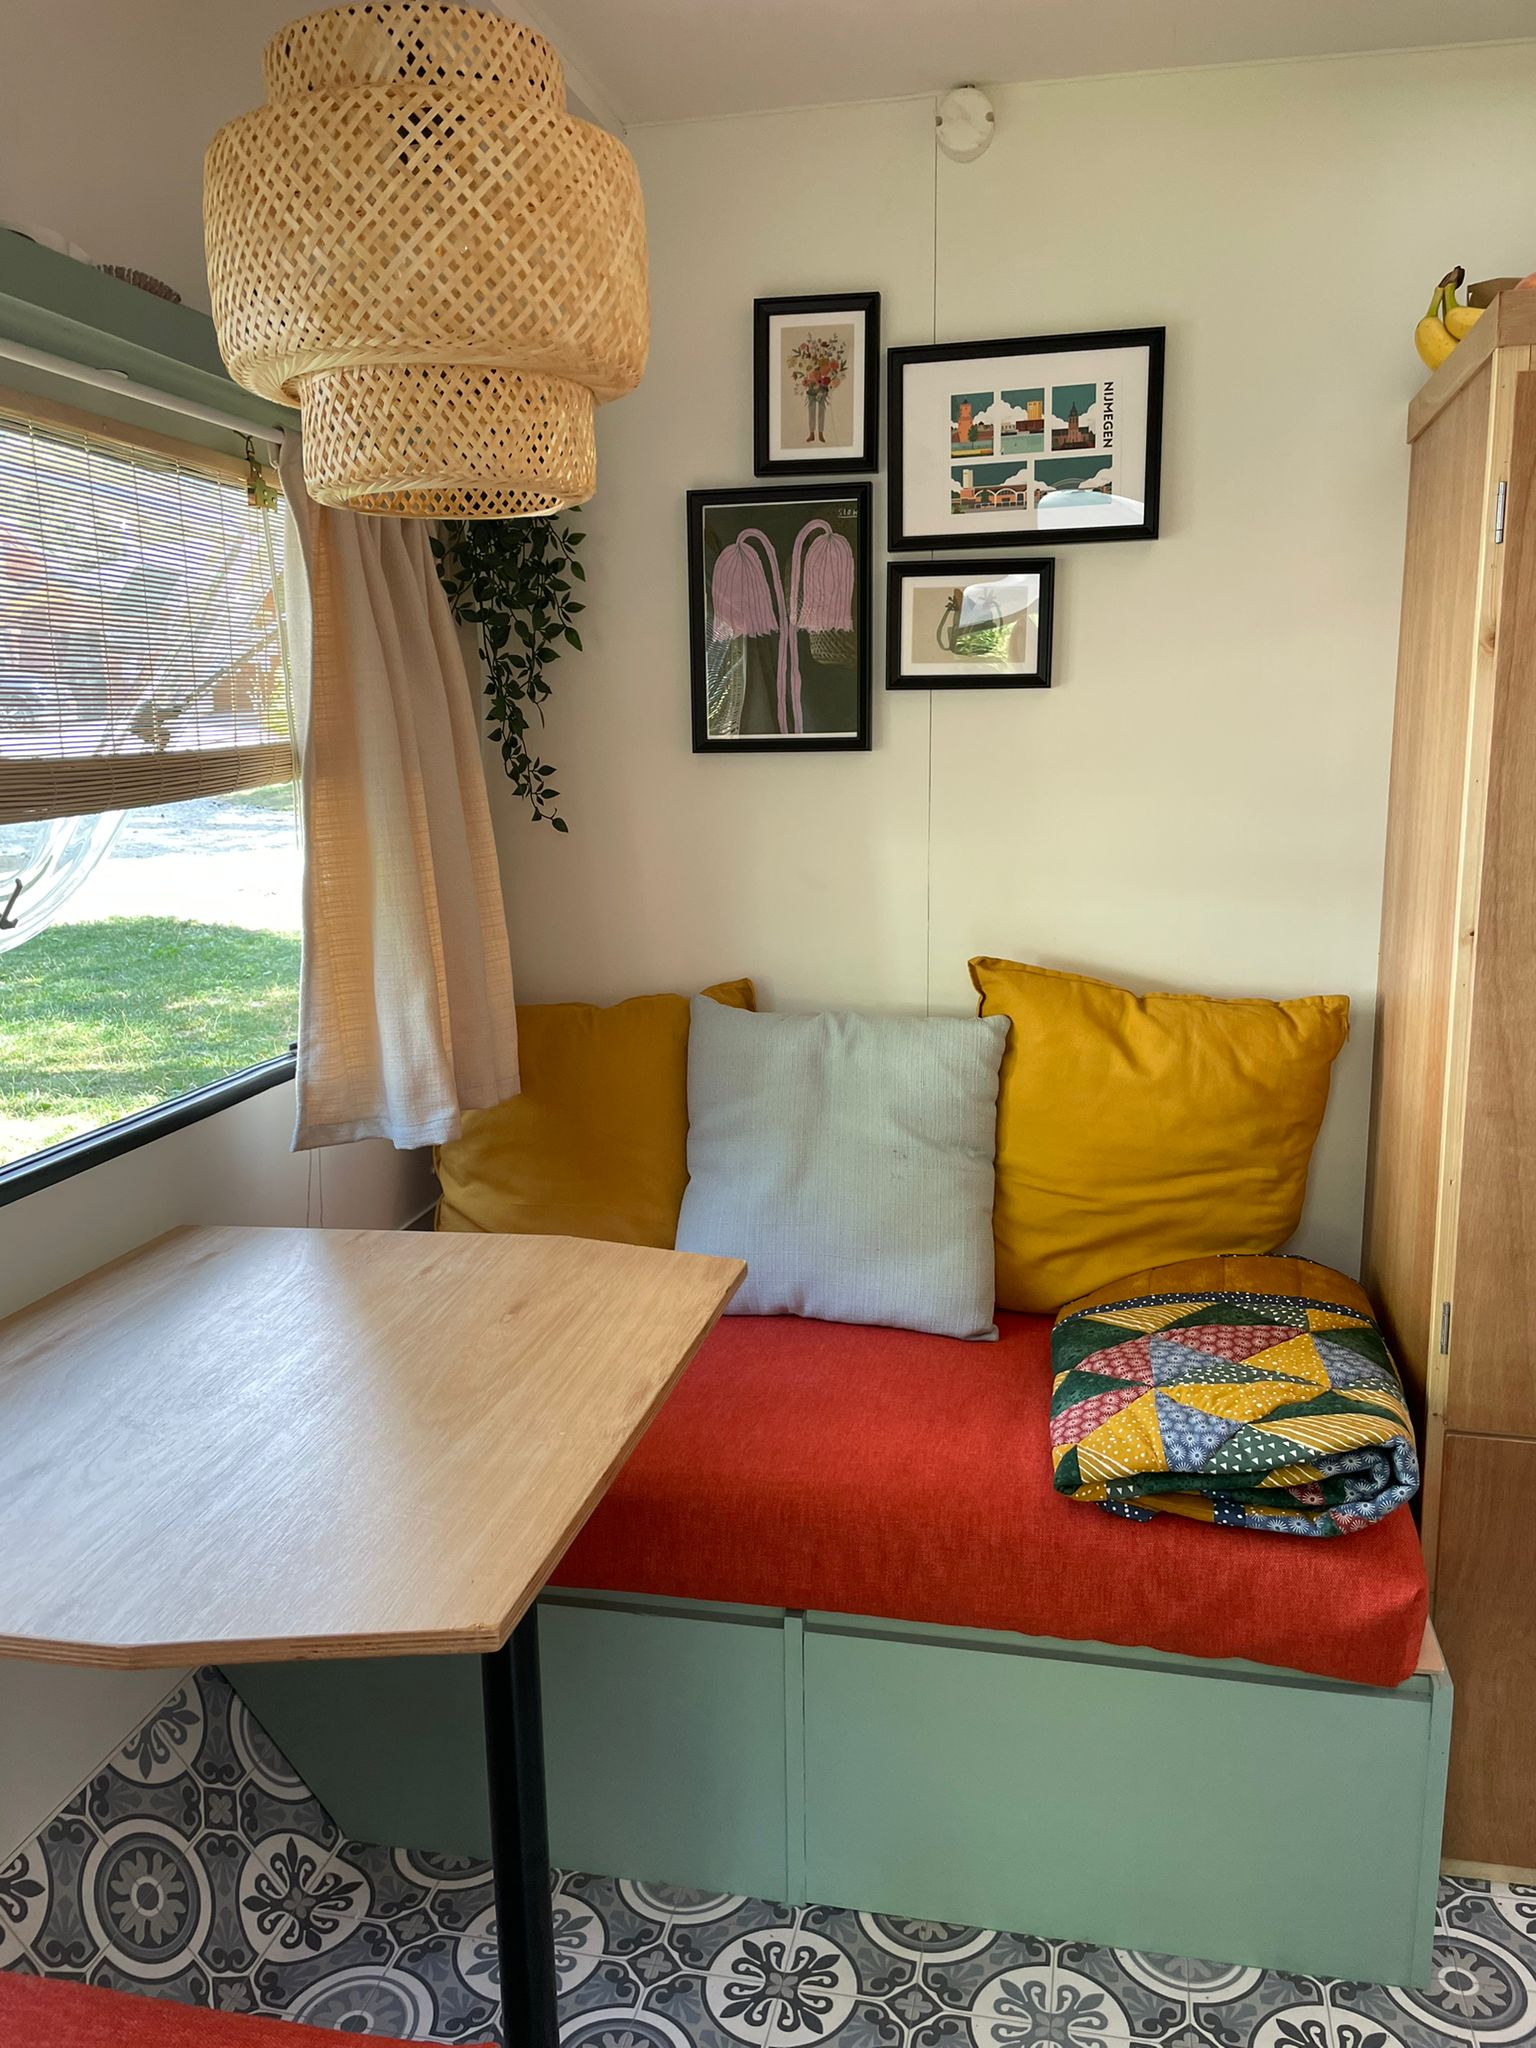
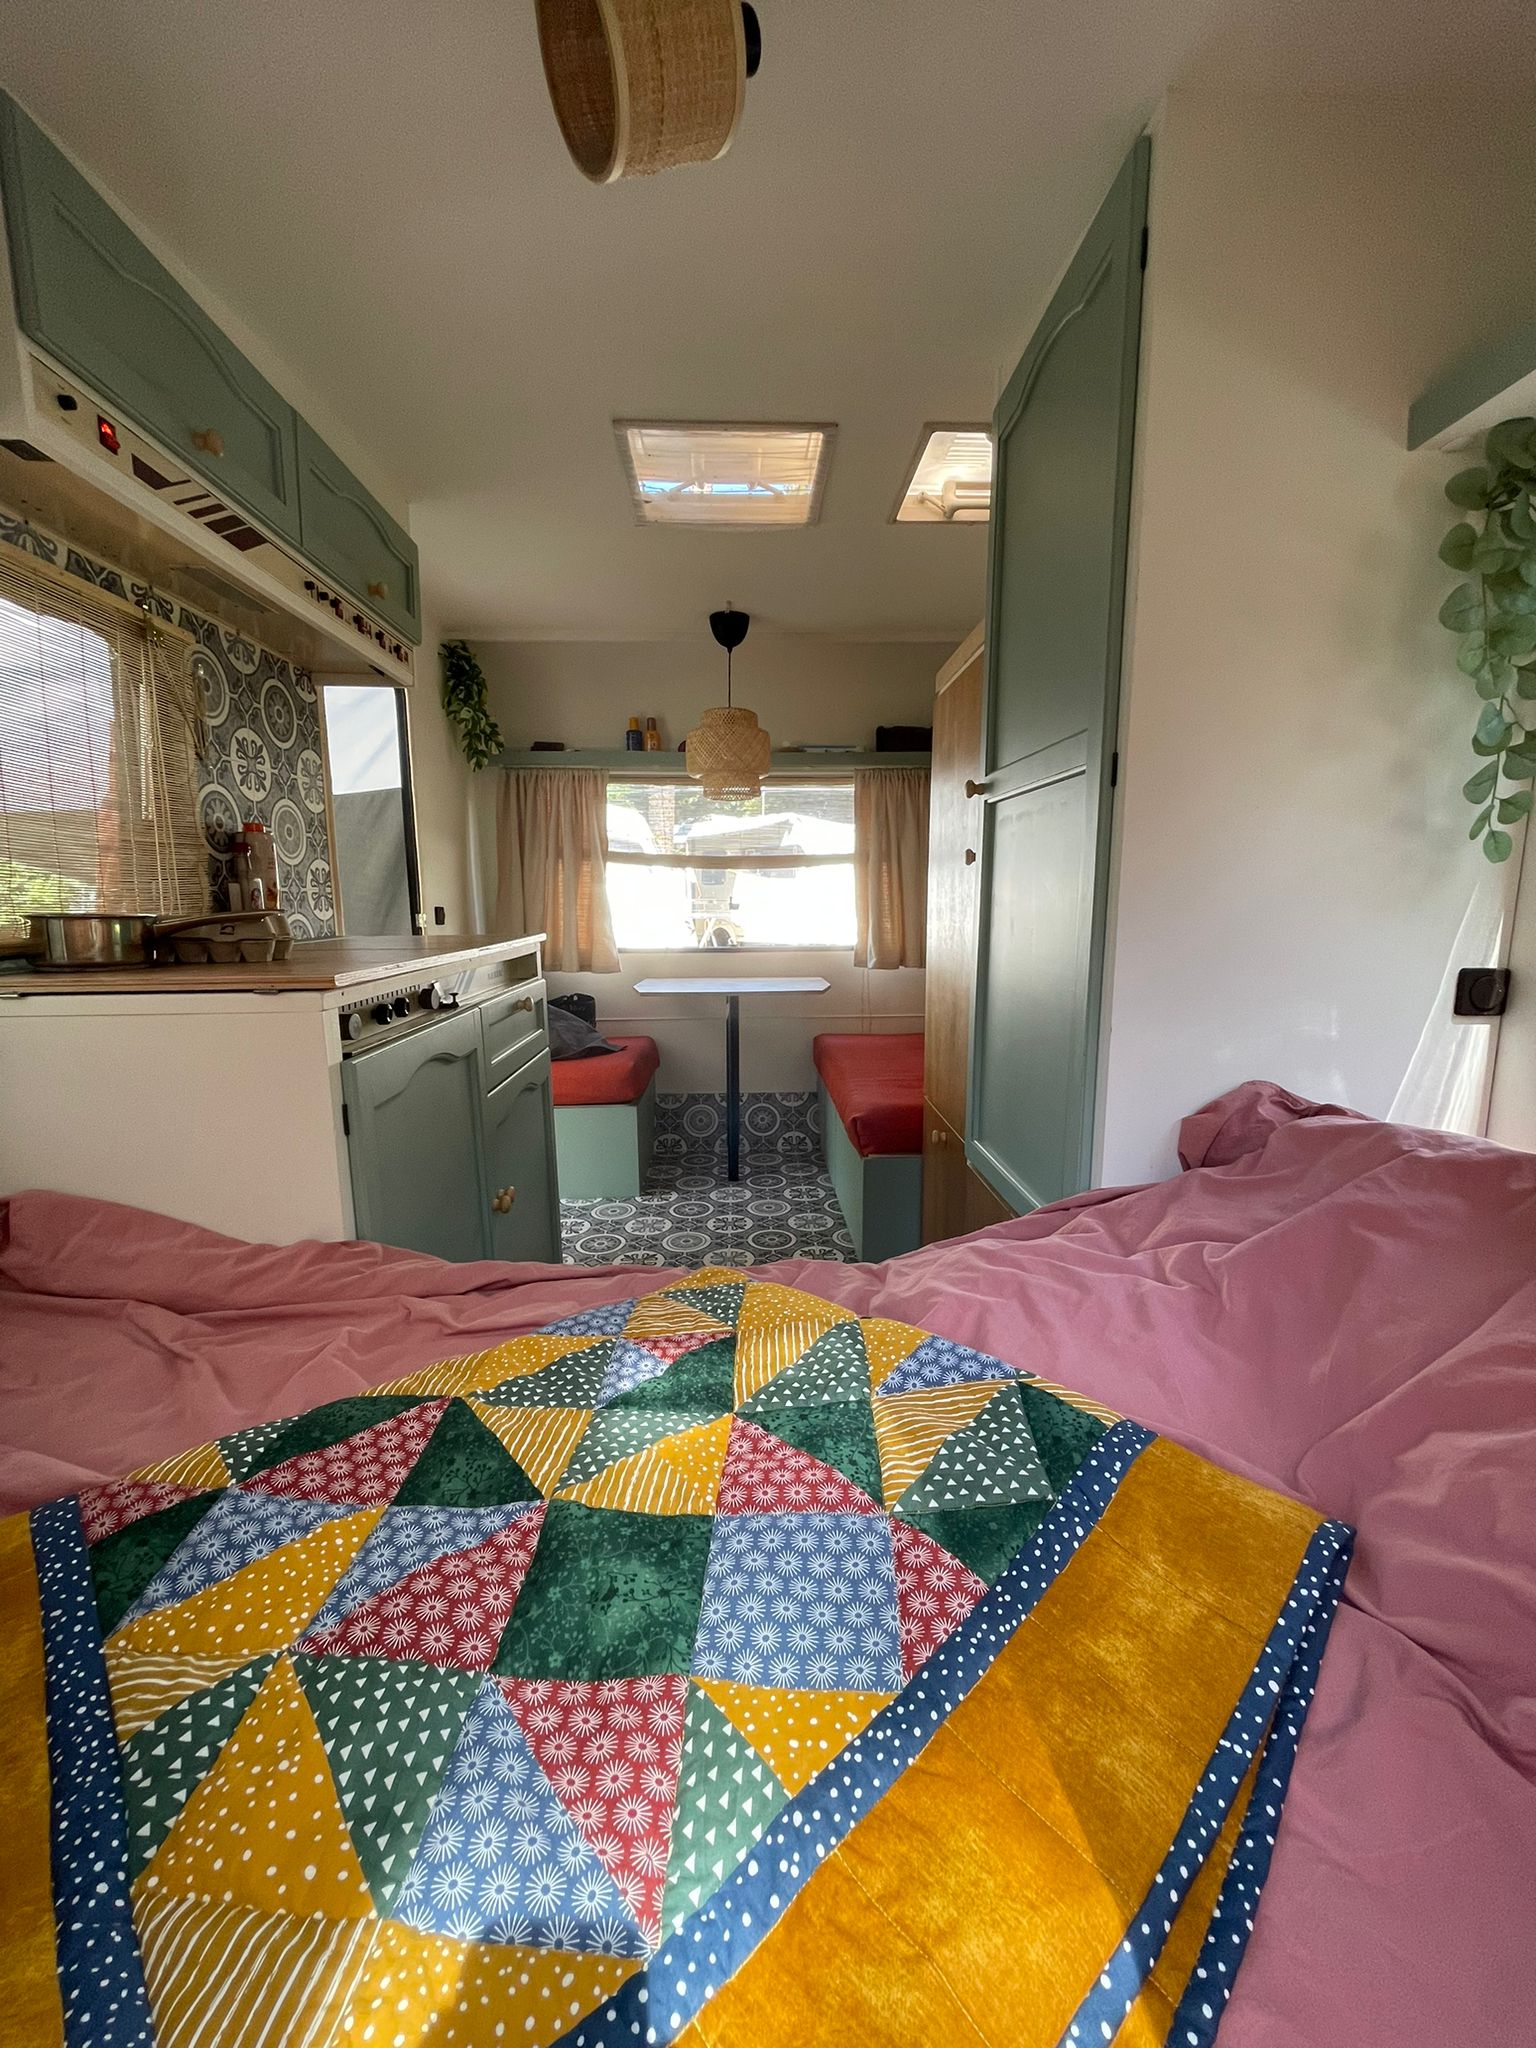
The whole quilt, from start to finish, took me about 20 hours. I am quite amazed what you can make in that amount of time, I think it’s not that long at all! I gifted the quilt to Margo just before summer, and it landed in a very nice place. Together with her boyfriend, she refurbished an old caravan from the 1980’s and the quilt fits perfectly in the fresh new interior! I am super happy this quilt will spend a lot of time on the road and at their couch at home.